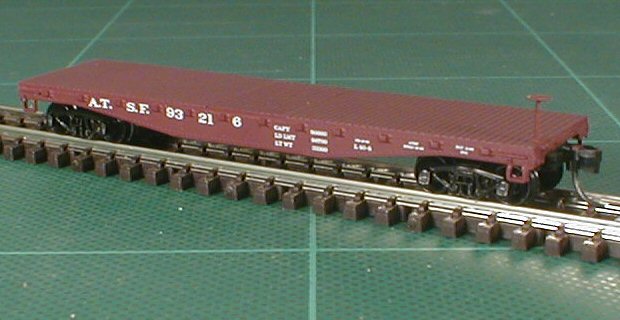
Conversion of Red Caboose 42' flat car
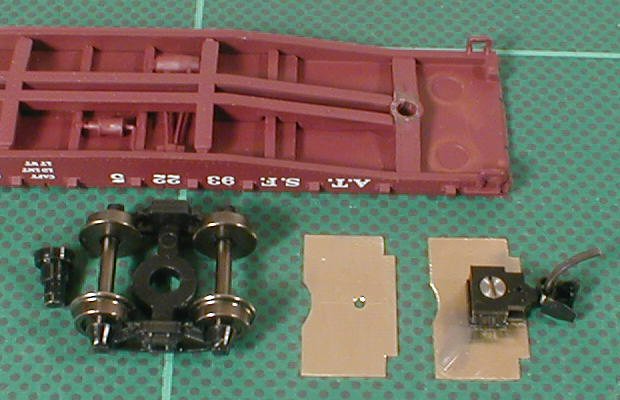
These flat cars from Red Caboose (bought as 2-packs) are plainly built from injection-moulded plastic with an integrated ballast weight. Unfortunately, the ballast weight is from steel so the cars have a tendency to be drawn in over permanent magnet uncouplers. The trucks have low-profile wheel sets and truck-mounted non-working couplers.
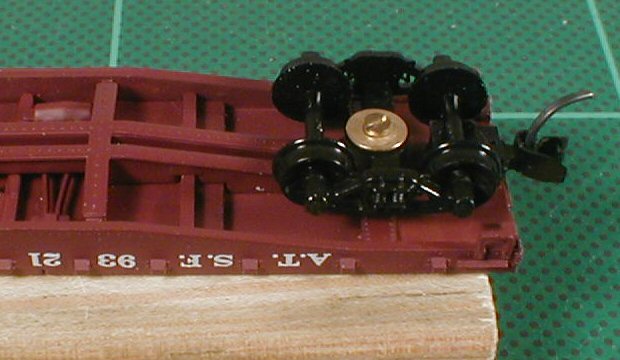
First I removed the wheel sets and trucks, cut off the couplers and remounted the wheel sets. I pondered a little on how the new couplers could be body-mounted without marring the planked deck with screw ends. I chose to cut out pieces of 0.5mm brass sheet to fit between body bolster and end sill. I screwed #1015 couplers to the brass pieces using M1.2x4 countersunk screws and glued them to the bottom using epoxy.
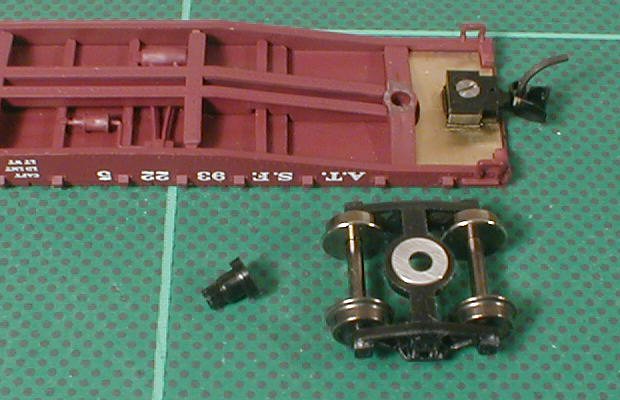
After remounting the trucks it turned out that the couplers were too low, and the outer wheel axles hit the coupler boxes. I tried putting 0.4mm thick washers between trucks and body bolsters but this did not work well. As Red Caboose's trucks are not as good-looking I chose to replace them with Micro-Trains Bettendorf #1004 trucks with low-profile wheel sets.

Neither the original nor Micro-Trains truck pins would fit, one of the reasons being that the height of the new trucks differed, so I had to make new pins. They were turned from brass in the lathe and glued into the holes of the body bolsters. Each truck was secured with a large washer and a M1.4 screw.
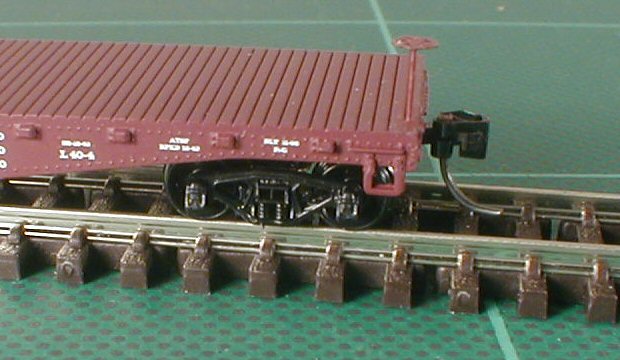
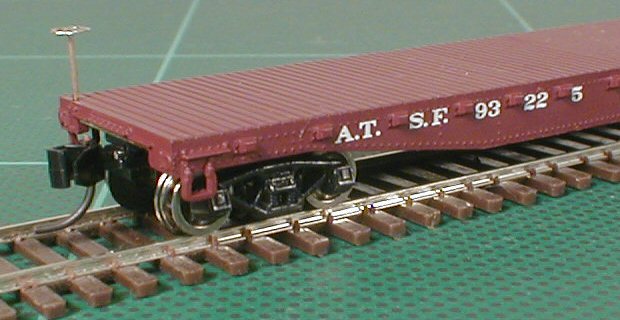
During the work on the cars I inevitably broke the plastic brake wheel stands which are rather delicate. I replaced them with metal ones; from an etched fret #160-55 from Gold Medal Models I chose brake wheels similar to the original and soldered them to bits of 0.4mm spring bronze wire. They were glued into 0.4mm holes that I drilled where the plastic brake wheel stands had been.
When converting another set of these cars I chose a different approach. I had purchased some Intermountain 33" metal wheel sets and they fit perfectly into the original Red Caboose trucks. I cut the couplers off the trucks, mounted the wheel sets and dry munted the trucks.
As I tried the height of the underframe against the Micro-Trains height gauge I could see that it was a little low. This suprised me so I examined the parts thoroughly. I discovered that the original Red Caboose wheel sets are 36" diameter (5.7mm) while the new are 33" (5.2mm) which gives a height difference of 0.25mm. I don't think these cars ever ran with 36" wheel sets so I kept the metal wheel sets.
The body bolster surfaces that rest against the trucks were slanting so I filed them straight. I cut out and filed four brass sheet pieces for mounting the couplers, this time from only 0.3mm sheet, and screwed the #1015 couplers on using M1.2x4 countersunk screws. I could see that the brass sheet bowed as I tightened the screw so I screwed it off and glued the coupler boxes on while tightening the screws less than before. Then I glued the brass sheet pieces onto the underframe.
I tried different thicknesses of distance washers between the truck and body bolsters and found that 0.3mm fitted well.
I was, however, not satisfied with the Red Caboose trucks so later I changed these for Micro-Trains Bettendorf trucks with low-profile wheel sets as on the first set. Below is a drawing for the bolster pins that I made for the cars.